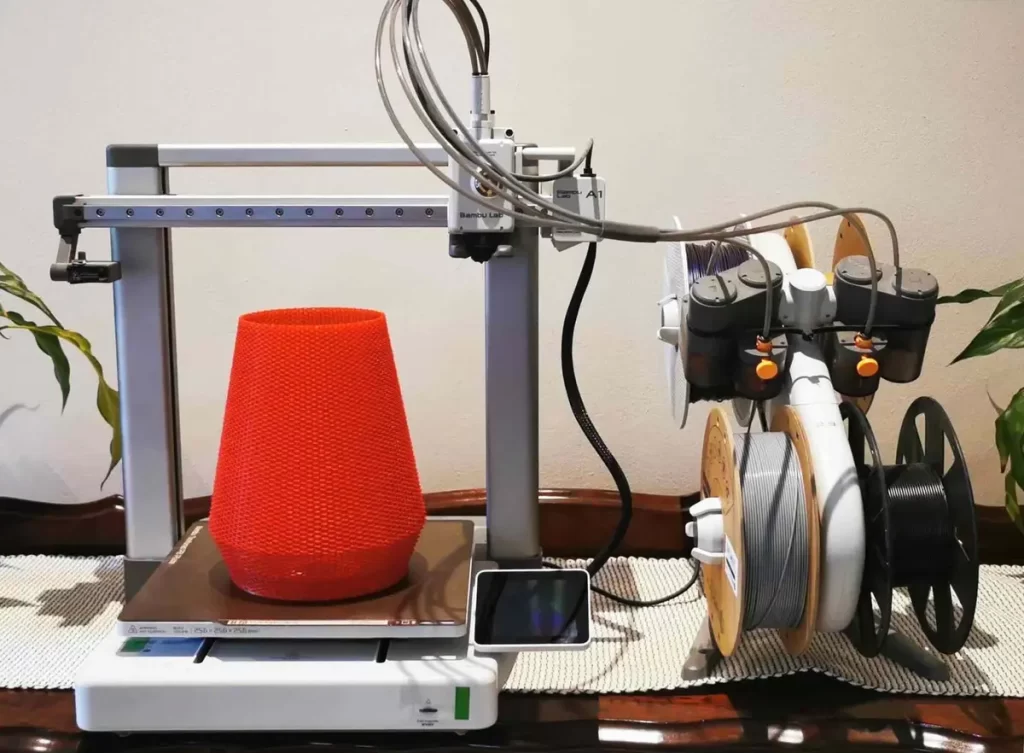
Upgrading Your Bambu Lab A1: A Complete Enclosure Guide
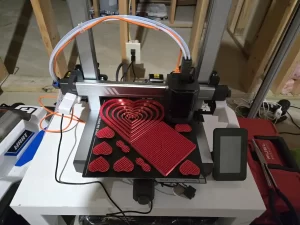
A 3D printer enclosure helps keep the printing area stable. It controls temperature, reduces noise, and protects prints from dust. Some materials, like ABS, need steady heat to avoid warping. An enclosure also keeps fumes contained, making it safer to print indoors.
Things to Consider Before Enclosing Your Bambu Lab A1
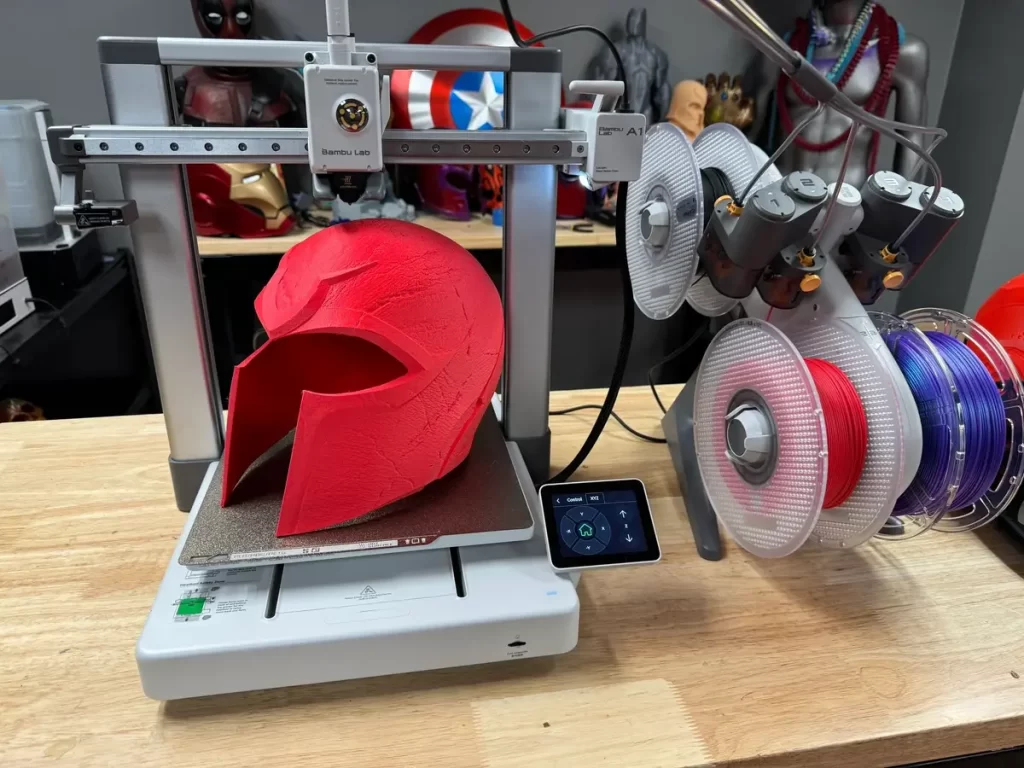
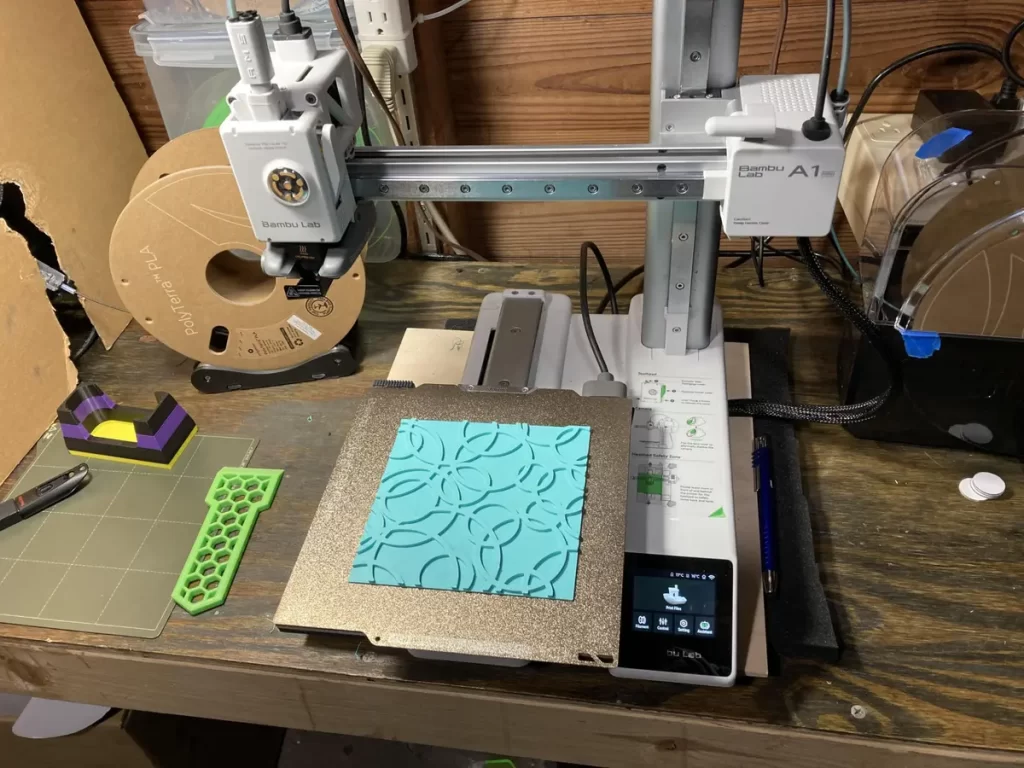
The Bambu Lab A1 is not designed to be enclosed by default. It does not have built-in cooling fans to prevent overheating. If the printer gets too hot, it may affect performance or damage internal parts. Proper airflow and ventilation are important.
Here are a few key factors to consider:
- Heat Management: Without proper ventilation, an enclosure may cause overheating.
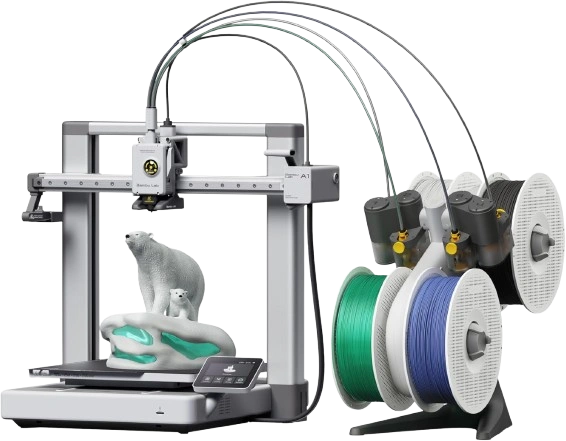
- Filament Compatibility: Some filaments, like PLA, work fine without an enclosure. Others, like ABS or PETG, benefit from one.
- Enclosure Size: The A1 is compact, but you need space for the printer, accessories, and ventilation.
- Accessibility: Make sure you can open the enclosure easily to change filaments or remove prints.
DIY Enclosure vs. Pre-Made Enclosure
You can buy an enclosure or build one yourself. Each option has pros and cons.
Pre-Made Enclosures
- Pros: Designed for 3D printers, often have ventilation ports and filtration.
- Cons: Expensive, may not fit the A1 perfectly.
DIY Enclosures
- Pros: Cheaper, customizable, can use available materials.
- Cons: Requires planning, may take time to build.
Materials for a DIY Enclosure
If you want to build your own enclosure, you need:
- Frame: Wood, aluminum extrusion, or PVC pipes.
- Walls: Acrylic sheets, polycarbonate, or even repurposed furniture like an IKEA Lack table.
- Ventilation: Fans, vents, or small openings to allow heat to escape.
- Filtration (Optional): Carbon filters or HEPA filters help control fumes.
- Temperature Monitoring: A simple thermometer can help prevent overheating.
How to Build a DIY Enclosure
Step 1: Measure Your Printer
Measure the width, depth, and height of the Bambu Lab A1. Leave extra space for cables, filament feeding, and ventilation.
Step 2: Build the Frame
A sturdy frame supports the enclosure. Options include:
- Wood: Easy to cut and assemble.
- Metal: More durable but requires tools.
- PVC: Lightweight and cheap, but less sturdy.
Step 3: Install the Walls
Attach acrylic sheets or polycarbonate panels to the frame. Clear panels let you see inside while printing.
Step 4: Add a Door
A front door makes it easy to access the printer. You can use hinges or a sliding mechanism.
Step 5: Set Up Ventilation
Heat can build up inside an enclosure. Add small vents or install a fan to remove excess heat. A simple 120mm computer fan can help.
Step 6: Monitor Temperature
A digital thermometer inside the enclosure helps track heat levels. If temperatures rise too high, increase ventilation.

Using a Pre-Made Enclosure
Some companies sell enclosures for 3D printers. If you buy one, check:
- Size Compatibility: Ensure the Bambu Lab A1 fits inside.
- Ventilation Options: Look for fan mounts or air vents.
- Accessibility: Easy access for maintenance and filament swaps.
- Filtration: Useful for materials like ABS that release fumes.
Maintaining Your Enclosure
To keep your enclosure effective:
- Clean It Regularly: Dust can accumulate inside, affecting print quality.
- Check Ventilation: Ensure vents are not blocked.
- Monitor Temperature: Prevent overheating with regular checks.
- Replace Filters (If Used): Carbon or HEPA filters should be changed as needed.
Conclusion
An enclosure can improve print quality and create a stable printing environment. However, it requires proper ventilation and monitoring to avoid overheating. Whether you build a DIY enclosure or buy one, plan carefully to ensure the best results.